Gel pedicures can be a beautiful and long-lasting accompaniment to any gel manicure, but they also stand alone brilliantly.
If you’re looking to do gel pedicures on your own, start with our
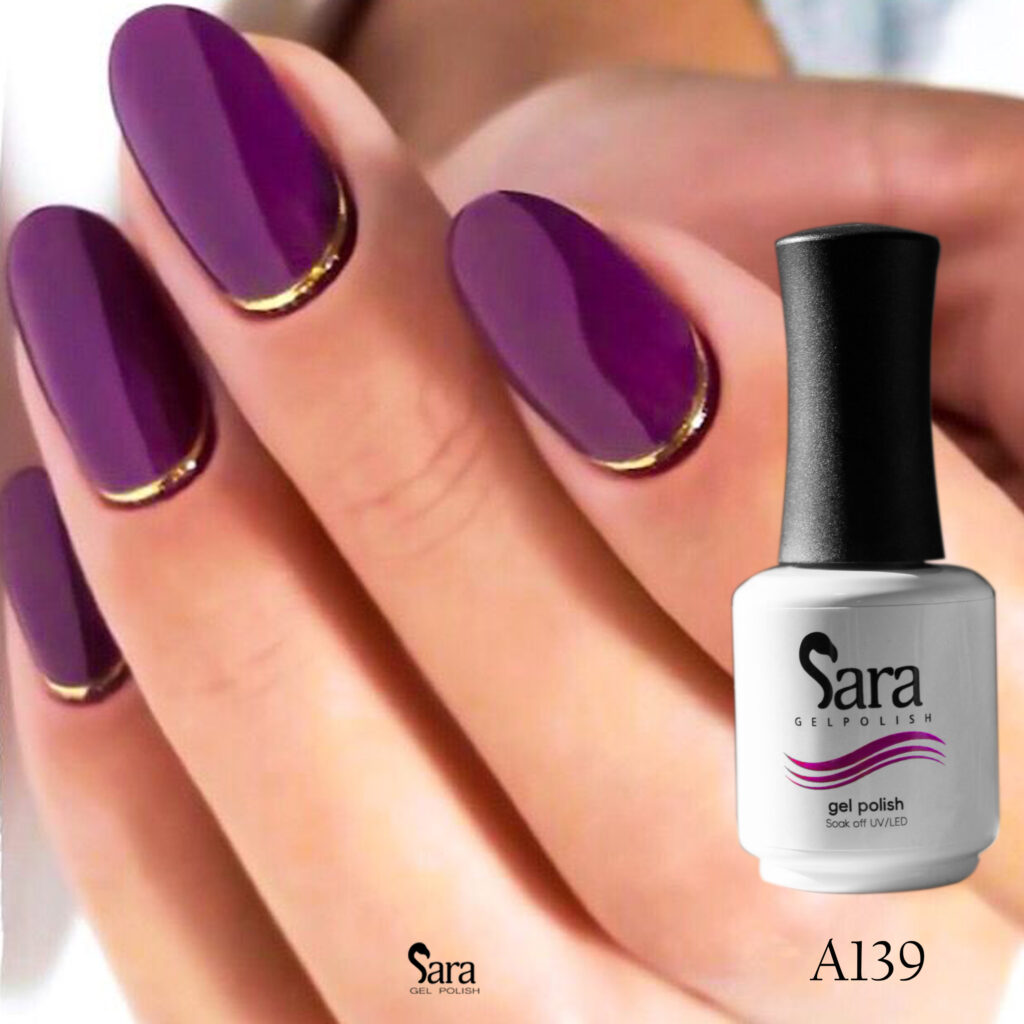
gel nail kit and a
good gel polish along with this guide to learn everything you need to know.
In our step-by-step gel pedicure guide, you’ll learn:
WHAT IS A GEL PEDICURE?
A gel pedicure is a pedicure done with gel polish. This pedicure is similar to a gel manicurein procedure and effect, but given its lower popularity, even gel manicure aficionados may want a refresher on what to expect.
A gel pedicure consists of nail treatment and preparation, softening your cuticles, and making sure each toe nail is perfectly shaped with smooth edges before application. A gel base coat is an essential first step, followed by two or more thin layers of polish and a gel top coat to seal your new pedicure.
The same tools are needed for removing as gel manicure as it is for removing a gel pedicure.
HOW TO APPLY A GEL PEDICURE
Whether you go to your favorite nail salon to see your go-to technician or decide to try your hand at gel polish application at home, the steps of the process will be similar.
- Toe nail Prep
- Apply and cure a gel base coat
- Apply and cure the gel polish
- Apply and cure a gel top coat
- After Care
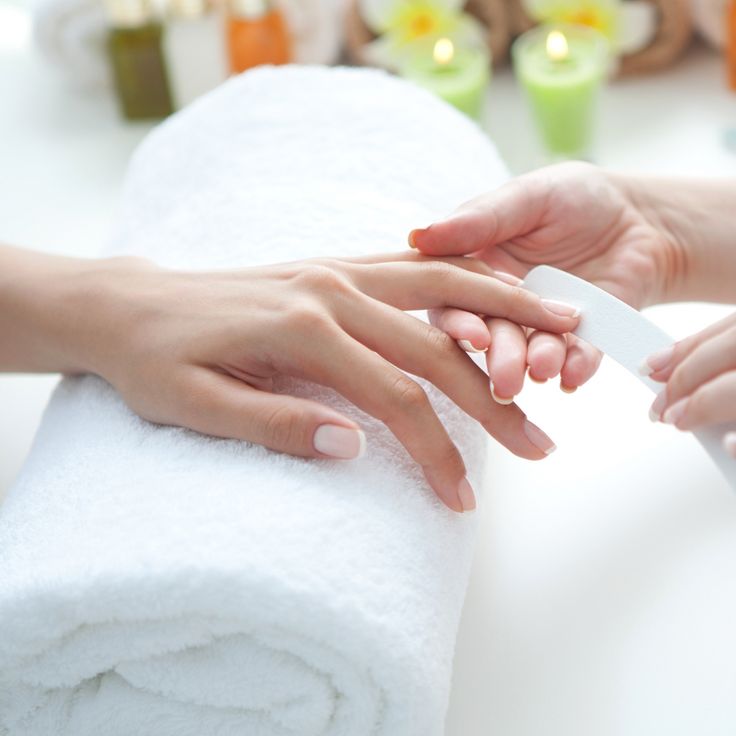
1) NAIL PREP
As is good practice for any nail polish application, you will first want to prep your toe nails. The tools that you’ll want handy for this process are the following:
- A nail buffer
- Nail clippers
- A nail file
- Cuticle tools
- Alcohol wipes/hand sanitizer
To prepare the toe nails themselves, buff thoroughly.
Then trim and file your toe nails to ensure that all edges are smooth and even.
Once your toe nails are prepped, use an alcohol wipe to wipe down your toe nails to ensure they’re clean and dust-free before applying a base coat.
2) APPLY AND CURE A GEL BASE COAT
Applying a gel base coat is a required step. A regular polish base coat won’t work with gel polish because it will never cure under a UV light or LED light.
Start with one foot and apply the gel base coat evenly across each toe nail.
After applying gel base coat on one foot, cure your toe nails under a UV or LED light for at least 30 seconds. Repeat this same process for your other foot.
Be careful not to cure for much longer than 45 seconds as the light source can damage your skin.
Note: The LED lamp is the gentler choice when compared to the UV light. Be sure to keep that in mind when buying a gel nail kit with uv light for an at-home application.
3) APPLY AND CURE THE GEL POLISH
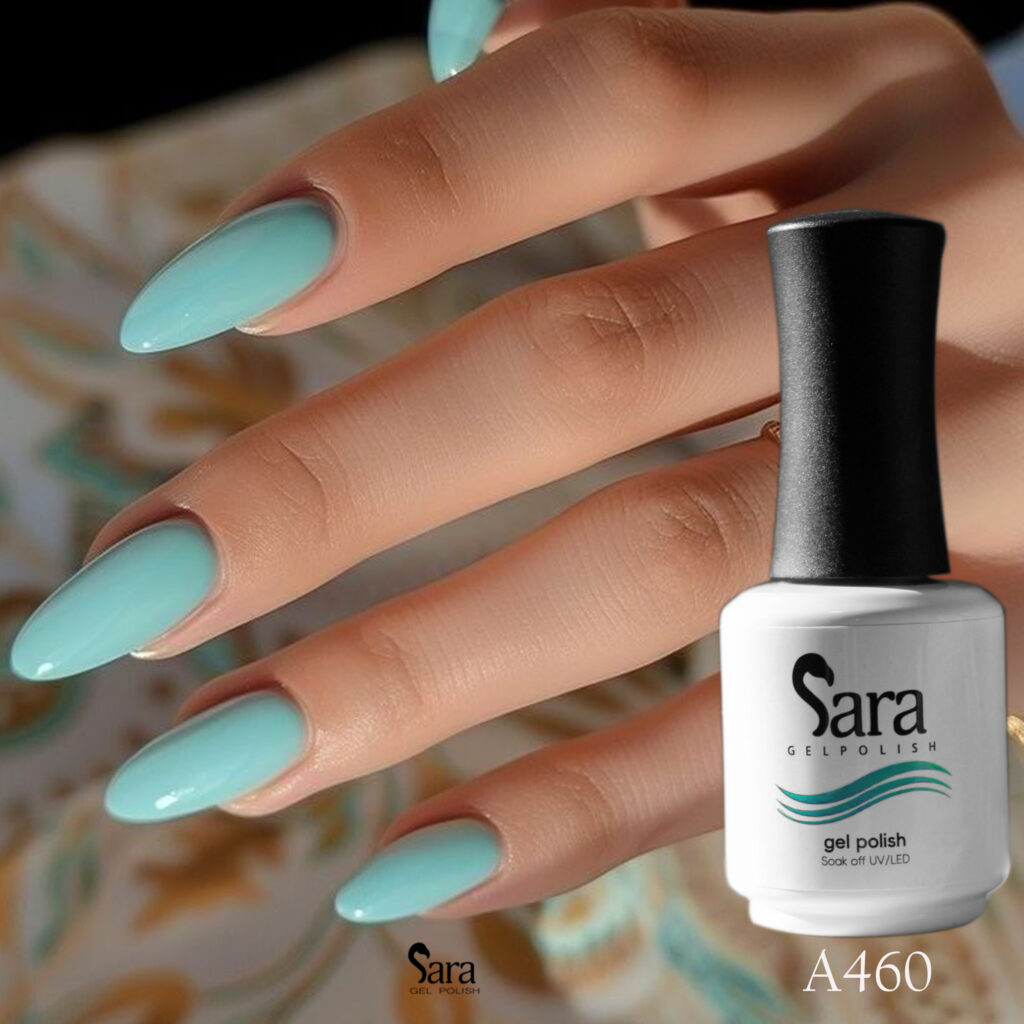
Now the fun part. Find a gel nail polish in your favorite color.
When you apply the gel polish, paint at least two coats evenly.
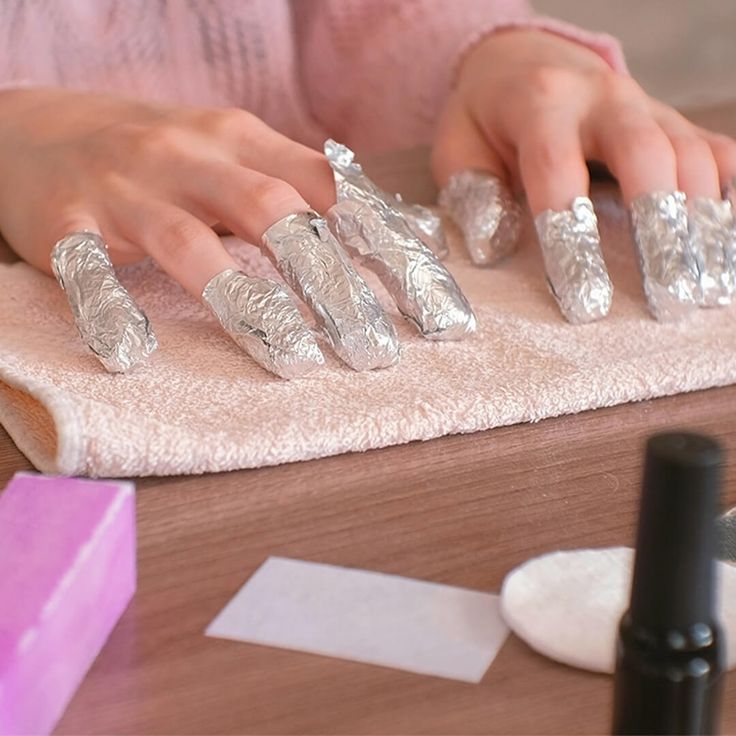
Have a pack of cotton balls and some acetone for this step so you can remove any stray polish from the skin around your toe nails.
The strays will be simpler to catch before curing since the lamp will dry the polish and cause it to stick, making it difficult to remove.
After painting two coats of gel polish on one foot, cure that foot under an LED or UV light for 45 seconds. Repeat this process of painting and curing for the other foot.
4) APPLY AND CURE A GEL TOP COAT
You will need a gel top coat in order to finish curing your gel polish.
Apply a gel top coat and ensure the edges are sealed. This will help your pedicure last as long as possible.
Cure the gel top coat for at least 45 seconds to ensure that your pedicure is dry.
After curing your top coat, you can finish with some nail art, like nail stickers. Simply add the designs you want — take extra care to make sure stickers are applied smoothly — and seal your work with the top coat again.
Wipe away any excess residue or any stray polish you may have missed on the skin around your toe nails with rubbing alcohol.
5) AFTER CARE
A curing lamp can be damaging for your skin, so finish off with some aftercare.
Apply cuticle oil to your toes’ cuticles after curing your gel pedicure to strengthen and improve the appearance of your toe nails and cuticles.
Moisturize your feet afterwards to rehydrate your skin.
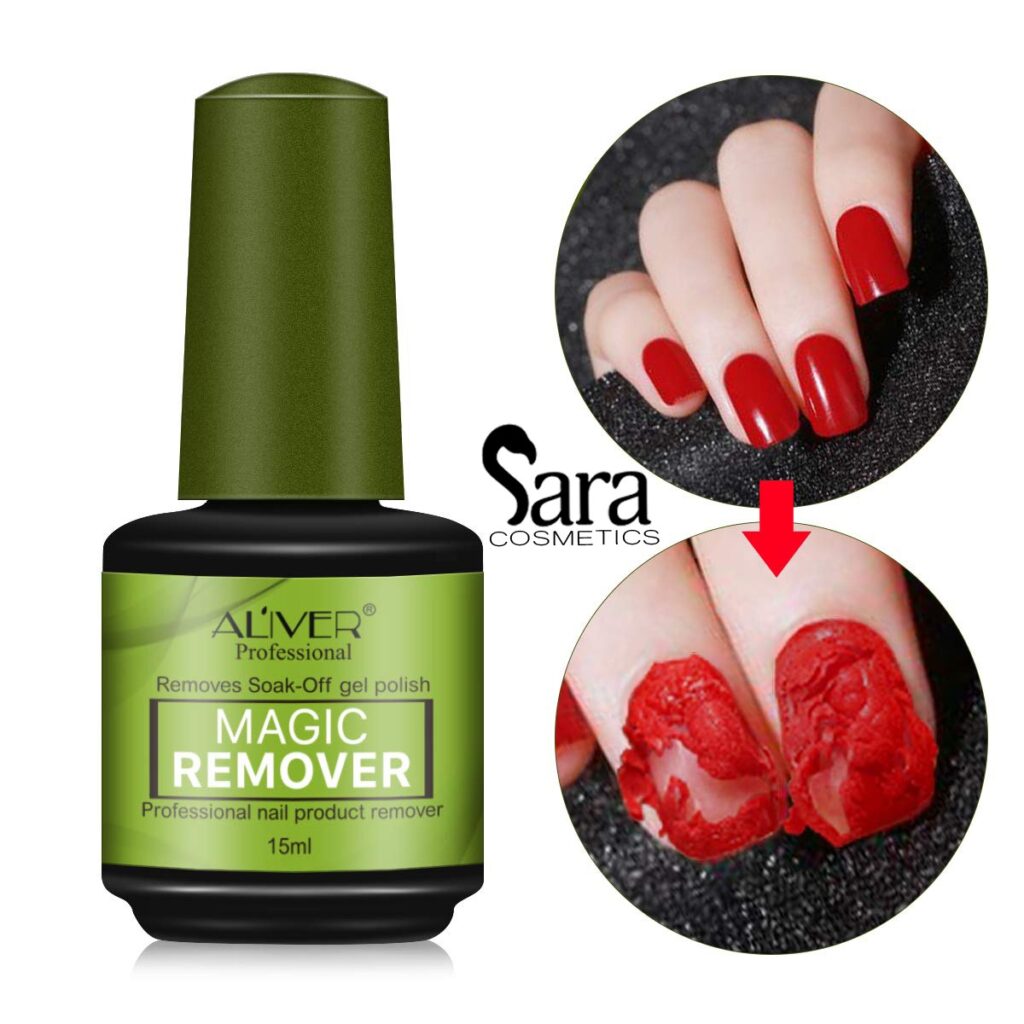
Remember, the removal procedure will also require you to devote some extra time. If you have the time and necessary tools, removing a gel pedicure is simple enough to do at home.


المراجعات
لا توجد مراجعات بعد.